The day job has been getting a bit busy again lately, plus I spend most of my spare time these days obsessing over indigo shibori dyeing. But I will get back to my MQG challenge quilt in the coming week, I promise!
I haven't had time for another go at the indigo vat, and it will probably be at least another week before I can try again, assuming the weather cooperates. Even so, there's plenty of preparation to do, especially since I want to do more nui shibori (stitched shibori). When I haven't been blogging about indigo dyeing (see my last four entries), I've been stitching and tying up fat quarters. I've managed five thus far, in patterns of varying complexity.
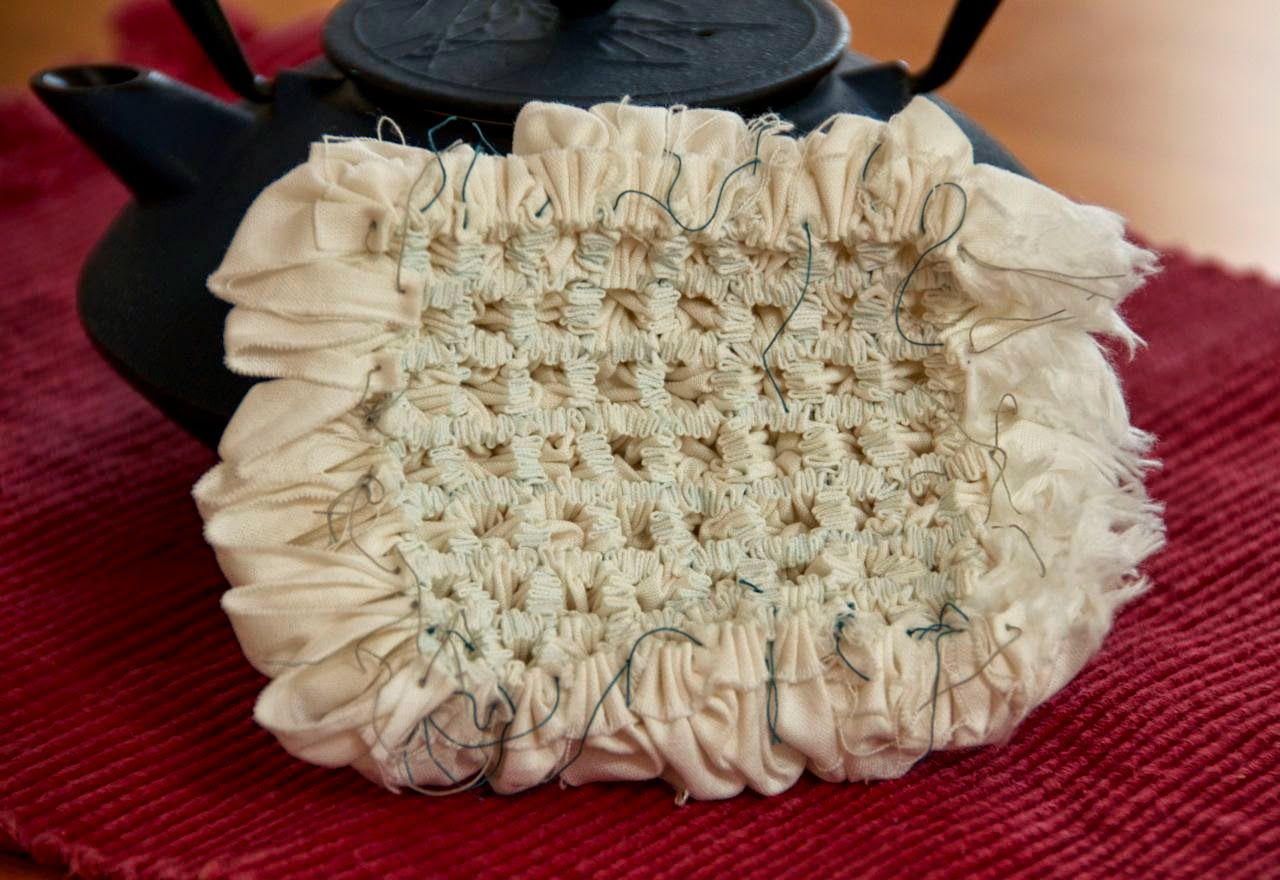
I stitched two up in the same grid pattern, so that I can compare a shirokage (white shadow) attempt with just regular dyeing. Here's what one of the pieces looked like after stitching:
And here's what the other FQ looked like after I pulled up the stitches:
Somewhere I saw this pattern referred to as "white box." The name certainly fits, given the prominence of the little square boxes now that the threads are pulled. I also think I've stitched correctly this time (see "
The trials and tribulations of nui shibori" for my troubleshooting on the last effort)--the ridges of the fold lines should take up the dye nicely to form the grid pattern, in contrast to the resist that I should get from the pulled stitches.
I'm trying some other patterns and types of stitching as well. This one should result in a mokume (wood grain) pattern alternating with solid indigo rectangles:
 |
| stitched |
 |
| pulled |
This overcast stitch should produce little feathery patterns along the diagonal lines, I hope:
 |
| overcast stiching: close-up |
|
 |
| pulled |
Finally, these rows of stitches should produce a pattern sort of like teeth in dental X-rays:
 |
| before pulling |
 |
| pulled |
The before photo looks simple, but before dyeing, I will wrap a couple of the wide furrows with strips of fabric as a resist. I'll unwrap those furrows after 2-3 dips before dipping for another 2-3 rounds, in the hopes of getting two lighter blue rows between the "teeth" patterns, while the other furrows will make dark indigo rows.
Linking up to WIP Wednesday on
Freshly Pieced and on the
Needle and Thread Network. Here's hoping for warm, sunny weather late next week, or next weekend. In the meantime, back to piecing letters for my challenge quilt!


Extremely interesting projects! I am very interested to see how these come out. I hope once they are dyed that you will post before and after photos so we can compare. I hope the weather co-operates!
ReplyDeleteThis is the most fascinating project you are undertaking. I have never seen anything like it. Oh,my, the time it must take for each one. I will be anxious to see the dyed pieces. I went to Arrowmont Craft School in Gatlinburg to study batiking. Geeze, it was time consuming and hard for me. I am definitely impressed with what you are doing. You are so talented. genie
ReplyDeleteI have never dyed fabric before and I love your description of the process. It's very interesting although it looks very time consuming... something for me to try!!
ReplyDeleteYour indigo dying is so cool. I scanned some of your other posts and the patterns you achieve are beautiful. Is your whole house covered in blue spots at this point?
ReplyDelete