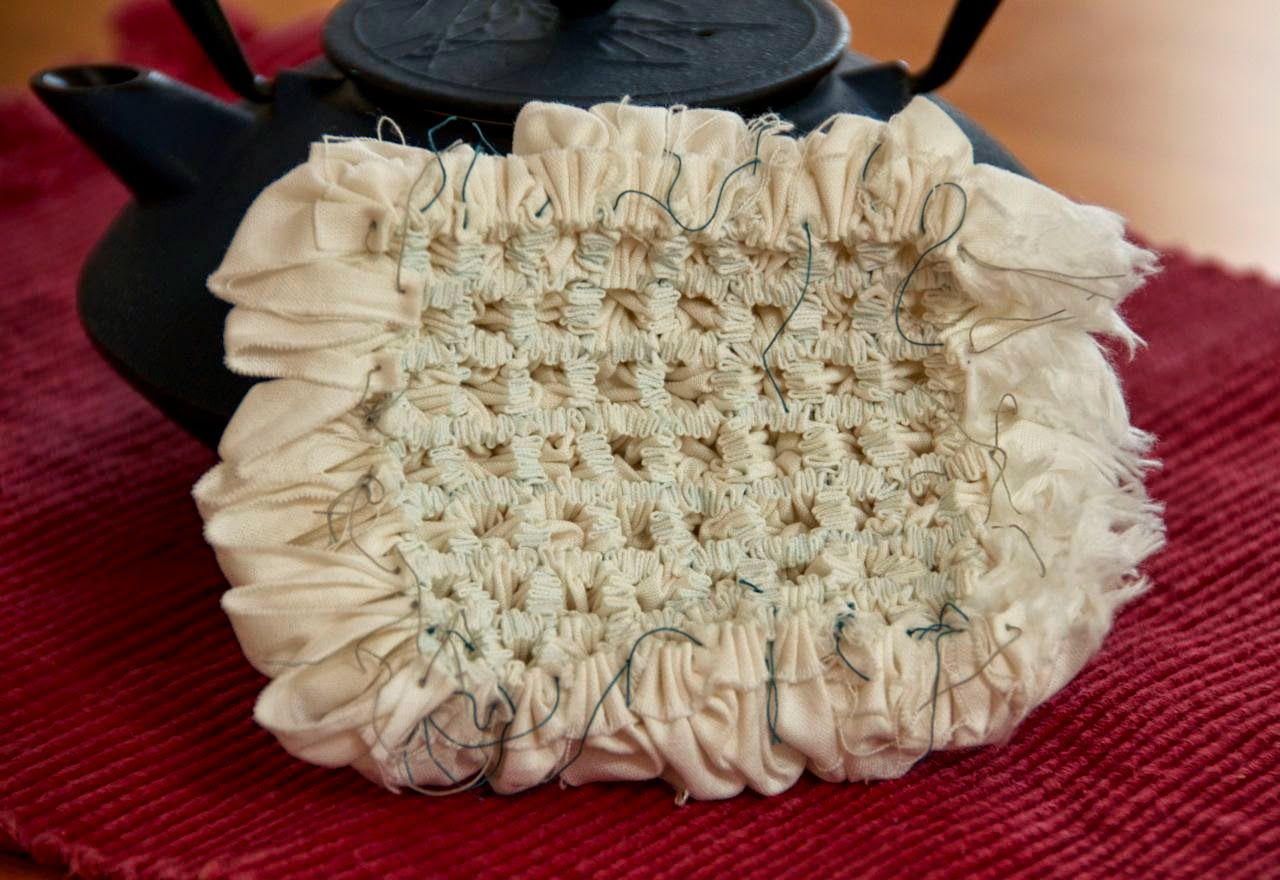
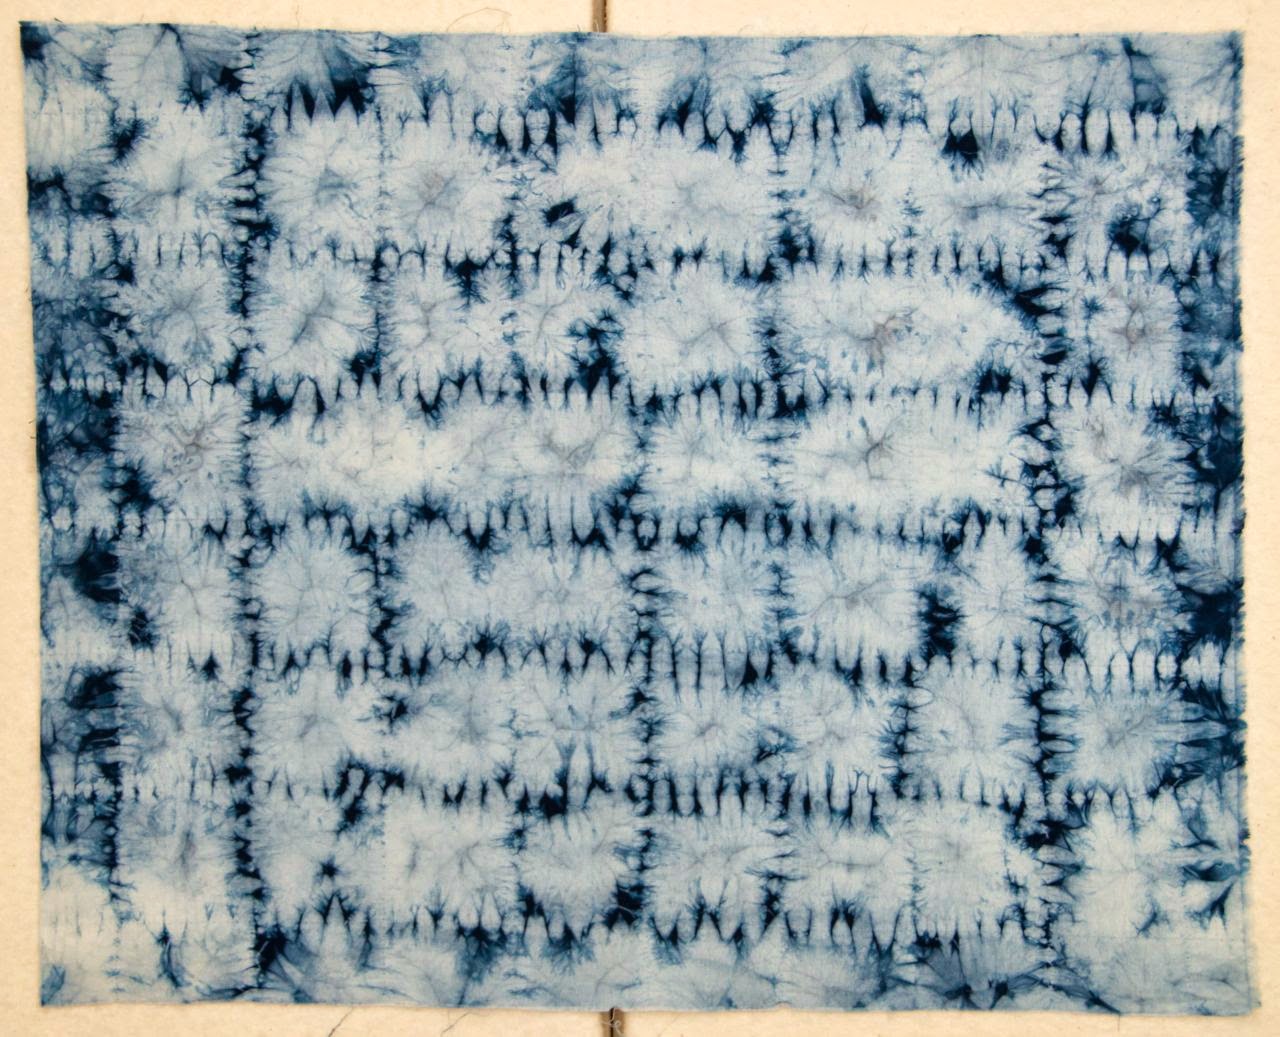
Today I'll provide the back story on the three pieces dyed by pole-wrapping--the tesuji, arashi, and bomaki fabrics--that appeared in this week's
WIP Wednesday entry.
I didn't take step-by-step photos, so you'll have to go elsewhere for more extensive descriptions of the process.
Lucia Lapone has written a good how-to on tesuji, although it's in Italian: "
Tecniche: Tesuji Shibori."
Dharma Trading Company has instructions for
arashi dyeing a necktie and a
T-shirt.
ArtThreads also offers a good
arashi tutorial, while
Shibori Vortex will give you a sense of
how bomaki dyeing works.
With tesuji, the fabric is pleated and then bound to resist, as in the sample on the left-hand side of the photo:
Usually, a piece of rope is used for the resist, but I didn't have any that I thought was thick enough, so I used a piece of PVC pipe instead. I've since seen photos that suggest the rope doesn't actually need to be all that thick, or even to be used at all. I'll try both of those approaches next time, along with finer pleats.
I don't have final photos of this piece aerating and drying, so I'll cheat and show pictures of my other tesuji piece from my first vat:
I experimented with using a paint roller brush for the resist. It's easy to wrap, and the roller brush doesn't take dye because it's synthetic. It does, however, soak up a lot of the bath during the dyeing process, so it's messy to wring out at the end of the day. For that reason, I'm not going to be using the roller brush in the future.
This photo shows the bomaki technique on the left and arashi on the right, with both pieces straight from the dye bath:
For bomaki, you wrap the fabric around a pipe and cinch it up, so that the scrunched up fabric acts as its own resist. In this case, I stitched the fabric lengthwise to form a tube. I didn't want wide solid edges, so I put in a separate gather lengthwise up the middle of the fabric in order to get a good, tight fit around the pipe, and then I twisted the fabric after scrunching for an extra bit of patterning and visual texture. Here's how the fabric looked after its final dip, but before taking out the stitches:
Finally, arashi involves wrapping fabric around a pole, binding it with twine, and then scrunching it up the pipe. The twine acts as a resist and produces intricate patterns. In my piece, I accordion-folded the fabric in thirds lengthwise and wrapped it on the diagonal.
When I finally removed the twine, the feeling was just magical:
The structure of the pleats combined with the pattern of the dye produces such a stunning effect! Alas, the pleats don't last as the fabric dries out, although with silk, the texture can be steam set, which is what you see with all of those gorgeous arashi silk scarves that artists make these days.
Even so, the final result is still striking:
For extra arashi happiness, here's a link to artist Helen Bolland's gorgeous shibori silk scarves:
Helen Bolland Shibori Pleated Silk Scarves. Cheers!


