Tuesday, November 12, 2013

Indigo dyeing workshop, part III: Pole wrapping

I am still savoring the memories from last month's shibori dyeing workshop.  On the second day, we learned a couple of different pole-wrapping techniques.  Here's Akemi's bokashi demo, in which she added a couple of pleats to take up extra fabric width, and then scrunched the fabric up on a piece of PVC pipe, with a twist for added interest:


I was a little afraid of pole-wrapping, since a friend of mine tried it once and found it difficult to wrap the fabric tightly enough.  But I tried two different techniques and loved, loved, loved the results.  Here's a peek at my arashi sample, dyed onto a lightweight organic cotton:


Can you guess how I prepared the fabric?  I pleated it back and forth lengthwise, wrapped it around the pole at an angle, tied it with some linen twine for the resist, and then scrunched it up onto the PVC pipe before sticking it into the dye bath.  As you can see from the photograph, the part that was on the outside took up the most color, while the innermost layer just took up a little bit of the indigo.

Everyone at the workshop had a blank habotai silk scarf, and I decided to use bokashi shibori to dye mine.  I didn't want big, solid borders, so I followed Akemi's example and put in a couple of lengthwise pleats before basting the scarf into a tube and scrunching it up onto the pole.  The basic process was simple, and I absolutely love the result:


I'm already dreaming about the quilts I can make after I dye some more cotton shibori fabrics in indigo.

Tuesday, November 5, 2013

Indigo dyeing workshop, part II: The dye bath


As I wrote in my last posting, over Thanksgiving weekend, I had the chance to take a wonderful shibori indigo dyeing workshop with Akemi Nakano Cohn, and in this entry, I thought I'd say more about working with the dye bath. 

I had never done any serious fabric dyeing before, and on the first day, the dye bath seemed very alien and forbidding.  When Akemi showed us how to make the dye stock solution and dye bath, I wrote down instructions in minute detail--how to make a paste with the indigo powder, how to transfer it to a Mason jar with a rubber spatula, how to mix in the lye solution, and then the thiourea solution, how to stir up the stock solution, and so forth.  There were a lot of prohibitions to keep track of: don't ever add water to lye (always the reverse, or you will regret the energy release from the chemical reaction as the water hits the lye all at once), don't mix too vigorously, or you will oxidate your stock solution and dye bath, don't wring out your fabric over the dye bath (do it under the surface of the bath), don't let the dye bath get too cold, don't splash or make lots of turbulence in the dye bath--basically, don't do anything that will add oxygen.  Also, don't forget to thoroughly wet your fabric before dyeing it.

On the one hand, there was something comfortably familiar with the setting, since I was a chemistry major once upon a time and logged plenty of hours in lab.  From that standpoint, there was nothing new about the necessity of keeping a particular solution in a reduced state.  But I also hadn't been at a lab bench in over 25 years!

By the second day, however, I felt like an old pro.  Granted, I didn't make the dye bath myself, but when I arrived, it had a beautiful yellow-green sheen, and I could tell immediately that we had particularly good bath to work with.  At a certain point in the afternoon, I could also see that the dye bath was pretty much exhausted, and I helped to stir (not too vigorously!) after Akemi added more dye stock (don't forget to wait 30 min. or so before the revived bath is ready!).

Here are two of my favorite pieces from the second day:


Both are dyed Kona PFD.  For the workshop, we were supplied with a lighter weight organic cotton, but I also bought some Kona, since it's the weight I prefer for quilts, and I wanted to see how it would do in the indigo bath.  It dyed beautifully, and I was really pleased.

The first piece is nui (stitched) shibori.  After the first day of the workshop (and after Thanksgiving dinner), I did eighteen rows of hand-stitching.  It took about two hours altogether, plus another fifteen minutes to pull all of the stitches tight.  I dipped it four times in the dye bath (dipping means putting something in for about 15 minutes, and then taking it out for 20 minutes or so to oxygenate before putting it in the bath again for another dip).  Had there been time, I would have put it in the bath for another two rounds, but even so, I'm pleased with the depth of color.

The second piece is itajime shibori, which involves folding and clamping.  I just pleated the fabric lengthwise, and then pleated the resulting long strip again, down to the right size to clamp between two rectangular pieces of wood.  The wood acts as a resist, which leaves most of the piece with just the barest tint of blue, in between the dark areas that are at the edges of the clamped fabric.  Again, I dipped four times, which made for a strong and beautiful contrast.

Maybe it's hubris, but I do feel confident about continuing my indigo dyeing experiments on my own, and I am already imagining a dye shop in the backyard this summer.

Tuesday, October 15, 2013

Shibori! Indigo dyeing workshop, part I

As I mentioned in my last post, the day job has been applying enormous pressure over the past several weeks, and it’s put me in a frustrating state of stress and fatigue that hasn’t left much time or energy for fabric-related creativity. I finally got a bit of a break over the weekend, however, with a wonderful two-day shibori indigo dyeing workshop with Akemi Nakano Cohn, sponsored by the 2013 Maiwa Symposium. Here are some of my creations:


I can’t rave enough about Akemi’s inspiring workshop. I’ve collected Japanese cottons for many years and know a fair amount about the dyeing techniques to produce them, but I had never had the chance to try indigo dyeing myself. After just two days with Akemi, however, I feel ready to forge ahead on my own, assuming I can figure out where to set up a dyeing station in our house. On the first morning, we learned how to mix the dye stock solution and prepare the dye bath, and then we embarked upon developing a wide variety of shibori techniques, including itajime (fold and clamp methods), nui shibori (hand stitching and gathering), kanoko and other tying/knotting techniques, plus arashi and bomaki (two forms of pole wrapping). We really covered a lot of ground in just two six-hour sessions!

Altogether, I dyed a dozen different samples. We started with itajime, and here are my first two pieces:


Can you see how they were dyed? Unfortunately, I didn’t take photos--too busy prepping fabric! Basically, itajime involves accordion pleating followed by clamping, which produces all manner of visual effects. In the piece on the right, which was my very first effort, I pleated the fabric lengthwise into twelve sections, and then pleated into fourths in the other direction, which gave me a small rectangular shape. I then clamped with chopsticks and rubber bands for a resist (which yielded the chevron lines that you see), plus some clothespins here and there for good measure. For the piece on the left, I pleated lengthwise in fourths, and then I pleated in an equilateral triangle shape and clamped with chopsticks. I also tried a pair of clothespins in each corner, but the folded fabric was too thick, and the clothespins basically fell off in every round of dyeing.

Both fabrics are a lightweight organic cotton from Maiwa Supply.  The first fabric went through the dye bath twice, while the second had four rounds of dyeing. Indigo dyeing requires multiple rounds of dipping in order to produce dark colors, so it requires a lot of patience.  It's hard to resist the temptation to unwrap your fabric prematurely to see how the dyeing pattern looks! I’ll say more about what it was like to work with the dye bath in a later posting. Stay tuned!

Saturday, September 28, 2013

Creative necessity

The pressures of the day job have been getting to me lately, especially since too many work obligations have left me without the time and energy for quilting over the past few weeks.  I get frustrated and stressed when I don't have time for creative contemplation, and last night I couldn't sleep for all the thoughts spinning in my head.  Basically, I'm not happy if I'm not creating.  Finally, around 1:30 a.m. I just got out of bed to work on a quilt that I started imagining back in August for VMQG's latest challenge. 

I spent about forty minutes or so cutting fabric and piecing before going to bed, and I continued with another forty minutes or so of sewing this morning.  I didn't work on the actual challenge quilt, but a small preliminary study in order to experiment with raw edge applique.  For me, the challenge fabrics immediately inspired a vision of scattered leaves across a pieced background, and with the preliminary study, I'm trying to see if I can bring that vision to life.  Here's the quilt thus far:


It feels so good to be creating again.  I will sleep well tonight!

Saturday, September 21, 2013

Defense!!

I went downstairs to my sewing room one evening a couple of weeks back, and here's what I found:


Aaack!  I'd been had, yet again!

Today I took defensive action, by going to Ikea for some of the hooks that hang over the edges of cabinet doors:


The idea is that fabrics in use for current projects now hang, rather than sitting in a tempting pile on my cutting table.  We'll see if this system actually works in practice--I'm not optimistic about my ability to put things away at the end of my sewing sessions, even in this minimal fashion.  But it beats the constant resort to the lint roller, and maybe as an added bonus, my fabrics won't get as wrinkled.

Tuesday, September 3, 2013

Piecing at a snail's pace: WIP Wednesday

Progress on my heron quilt is so incremental that I think it will get monotonous if I keep showing the view of the whole thing, so I'm just going to provide photos of little segments and hints until the entire top is done.  This past week, I finished the top left part, and I put together another unit of curved flying geese:


The flying geese are made from an exquisite piece of yukata fabric that I bought many years ago from Kasuri Dyeworks, the fabulous Japanese fabric store that used to be in Berkeley, CA.  Alas, Kasuri Dyeworks closed when store founder Koji Wada and his wife Debbie decided to move to Wyoming for their retirement, and sadly, Koji passed away just a few years later.  He was a wonderful man, with tremendous knowledge of and passion for Japanese textiles.  Kasuri Dyeworks apparently still makes it to a few select quilt shows, however, and I keep dreaming of going down to the Road to California one of these years in the hopes of purchasing a big bundle of intricately dyed yukata and katazome cottons.  Maybe January 2014?

In the meantime, the heron quilt is slow going because I'm also trying to do more sewing for my Etsy shop.  I managed to make a couple of drawstring pouches, plus I prepped fabric for a couple of ID holder wristlet coin purses.  Here's one of the pouches, in pale green vintage kimono silk, with a gorgeous butterfly and hollyhock design:


The quest for organization continues as well, especially my determination to use every bit of spare space to its best effect.  I noticed that the end of my pine frame bookcase underneath my cutting table wasn't doing anything useful, and I had a scrap of peg board that was just the right width, so I screwed it to the exposed end of the bookcase.  For a bit of perspective, here's the before photo:


And here's the close-up afterwards, underneath the table:


Now there's finally a good place to store rulers, plus a few other odds and ends, including the funny little stuffed brain cell that my sister gave me a while back.  I might paint the pegboard and the back of the cabinetry under my cutting table someday, but not before next summer.  For now, the utilitarian look will have to do.  Kudos to the Ellison Lane Sewing Studio Spotlight, in which so many of the studios demonstrated the virtues of pegboard, not to mention how fresh and cheerful it can look if painted in bright colors.

My day job is about to speed up again, so I might not have any quilting progress to show for a while, especially since I absolutely must put sleeves and labels on three quilts that are going to the Northwest Quilting Expo in Portland, as part of a special exhibit of quilts by the Vancouver Modern Quilt Guild.  Hope the rest of you out in the blogosphere will enjoy a lot more sewing time.  Happy quilting, everyone!

Wednesday, August 28, 2013

Slow and not so steady: WIP Wednesday

Where did the week go?  And what happened to summer?  Earlier tonight it was rainy and horribly windy--it sounded like mid-October outside, and now the temperature has dropped significantly.  I'm hoping we'll still have some good weather, but at the moment it really seems as if Vancouver's short summer has already come to a close, a good two weeks earlier than usual.

The day job kept me much too busy this past week, so I didn't have nearly as much time for sewing as I would have liked.  I did manage to make a little progress on my heron quilt, by starting work on the upper left corner.  I hadn't done any paper piecing in years, but the technique seems made for free form flying geese.  I also thought the quilt would be monotonous if I stuck to blue fabrics, so I'm starting to throw in some flecks of red.  Here's this week's piecing:


And here's what the creative process looks like on my new design wall, combined with fabric chaos in the foreground:


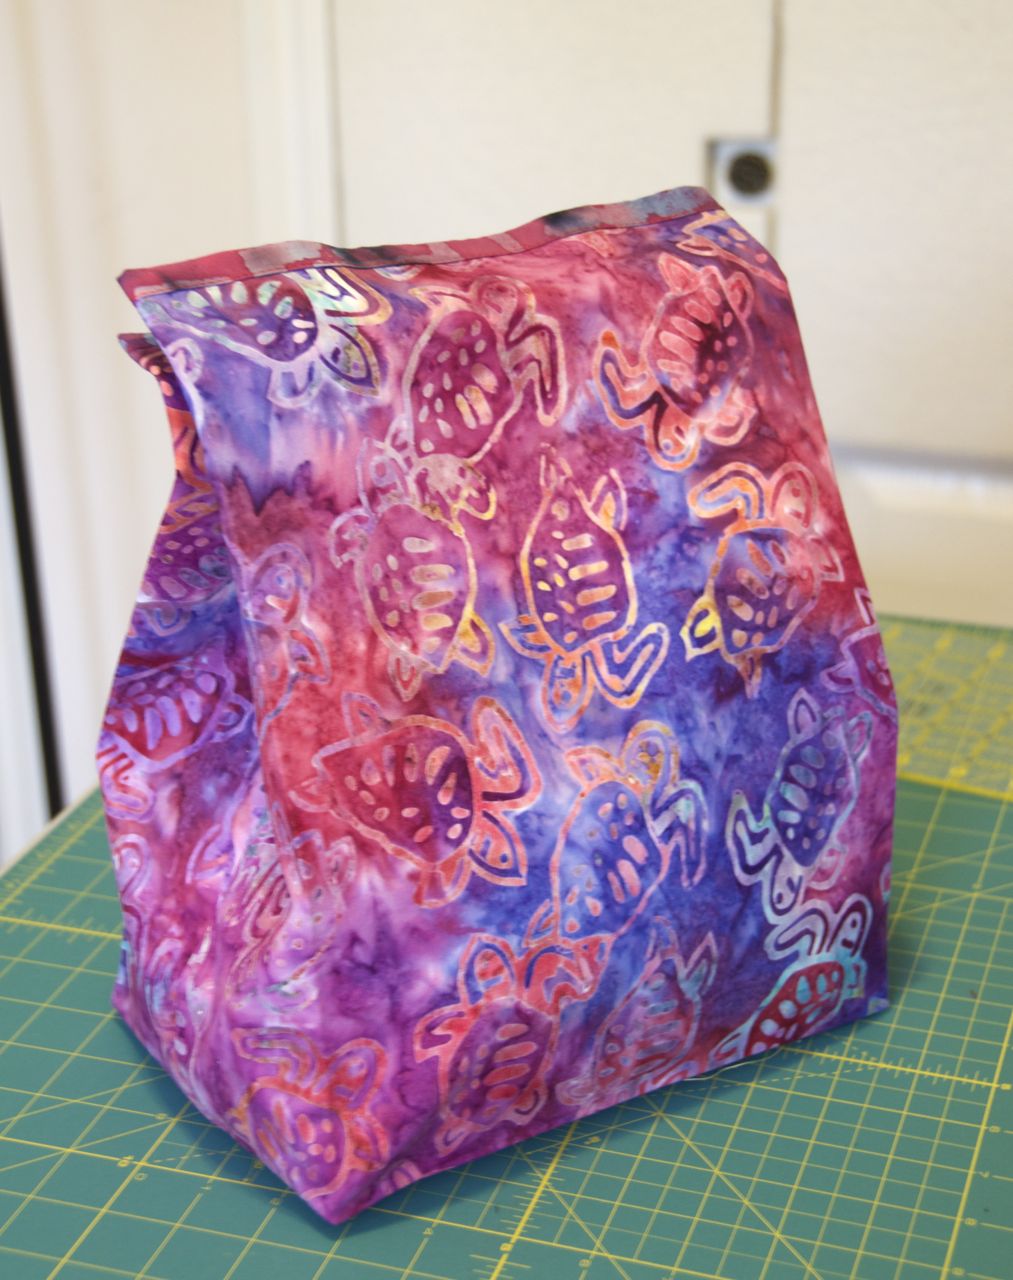
I also had fun making a fabric bag for scrap storage, as part of my ongoing drive for organization.  It certainly beats the plastic shopping bags that I usually use:


Happy sewing, and may all of your WIPs bring you creative energy and enthusiasm!